Technique
The Low-and-Slow Magic of Braising
Turn tough, budget-friendly cuts and sturdy vegetables into meltingly tender meals with the simple, deeply forgiving art of braising.
Understanding braising gives you the freedom to buy the most economical cuts and turn them into deeply satisfying dinners.
Tested by Kitchen Team
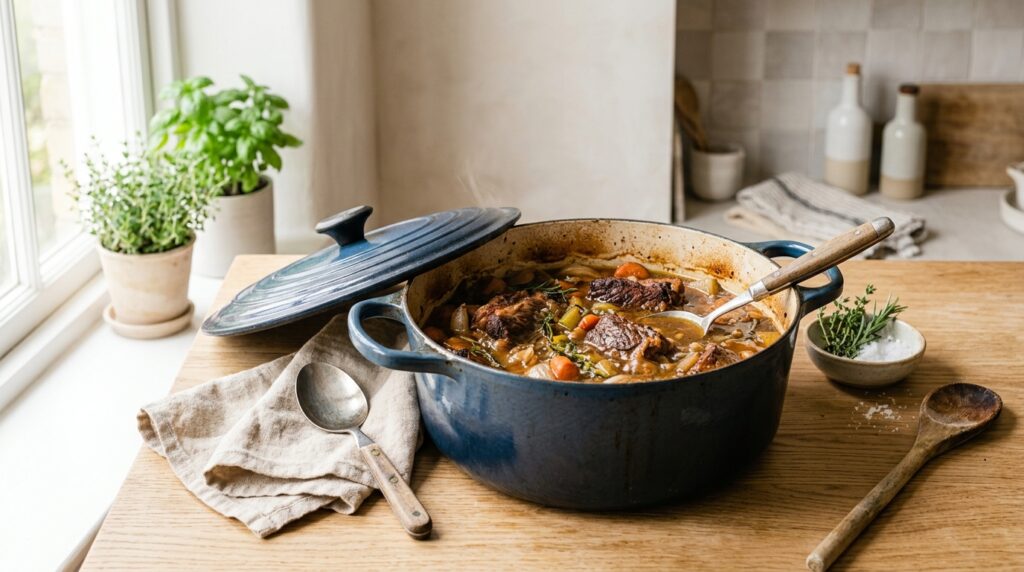
When the weather turns cool or you are faced with an inexpensive, collagen-heavy cut of meat—like chuck roast, bone-in short ribs, or pork shoulder—braising is the single most valuable technique you can master. It transforms tight, stubborn muscle fibers into meltingly tender silk while building a rich, deeply concentrated sauce in the very same pot.
The Core Method: Sear, Deglaze, Simmer
At its heart, braising is a combination cooking method: dry heat first to build flavor, followed by gentle, covered moist heat to break down connective tissue. Here is the reliable sequence to follow every time:
- Dry and season generously. Moisture is the enemy of browning. Pat your meat completely dry with paper towels before seasoning all sides heavily with kosher salt and black pepper.
- Sear hard and deep. Heat a heavy Dutch oven over medium-high heat with a thin film of neutral oil. Brown the meat thoroughly on all sides until a dark, mahogany crust forms. Do not rush this step; the fond left on the bottom of the pot is the foundation of your sauce. Transfer the meat to a plate.
- Build the aromatic base. Turn the heat down to medium and toss in your aromatics—diced onions, carrots, celery, smashed garlic cloves, or tomato paste. Cook until softened and fragrant, scraping up loose bits as the vegetables release their natural moisture.
- Deglaze the pan. Pour in a splash of acidic liquid, such as dry wine, cider, beer, or a splash of vinegar. Scrape the browned bits (fond) from the base of the pot vigorously with a wooden spoon until the metal is clean.
- Add cooking liquid halfway. Return the meat and any accumulated resting juices to the pot. Pour in stock, broth, or water until the liquid comes about one-third to one-half of the way up the sides of the food. Braising is not boiling; submerging completely will stew or dilute the meat rather than braise it.
- Cover and cook low and slow. Bring the liquid to a bare simmer, cover with a tight-fitting lid, and transfer the pot to an oven preheated to 300°F (150°C). Cook until a fork slips in and out of the center with practically zero resistance—usually 2 to 3.5 hours depending on the cut.
Common Pitfalls to Avoid
While braising is famously forgiving, a few subtle missteps can keep your dish from reaching its full potential:
- Drowning the meat: Too much liquid prevents the sauce from reducing naturally and dilutes the gelatin dissolving from the bones and tissue. Keep the liquid shallow.
- Boiling instead of braising: If your oven or burner is too hot, the liquid will boil aggressively. Vigorous boiling forces muscle fibers to contract tightly, driving out moisture and leaving the meat dry and stringy instead of succulent. Maintain a gentle, lazy bubble.
- Skipping the rest: Sliced or shredded right out of the oven, hot meat will rapidly lose its moisture to the cutting board. Let the braise rest off the heat, partially covered, for at least 20 to 30 minutes so the meat can reabsorb the flavorful cooking liquid.
- Serving too quickly: While delicious straight away, braises taste significantly better the next day. A night in the refrigerator allows the flavors to meld completely and lets you easily lift off any excess solidified fat from the surface before reheating.
Tip
Cut a round of parchment paper slightly larger than your pot, cut a small coin-sized vent in the center, and press it directly onto the surface of the braise before securing the lid. This parchment cartouche keeps the exposed top of the meat basted and moist while allowing steam to escape gradually.